Performance Radiator Installation:
Tools Used:
- 10mm Ratchet
- Wide pliers
- Silicone lube
- Radiator fluid
Products Used:
- Fluidyne
FHP11-92CIV -
Performance Radiator
|
|
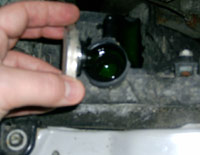
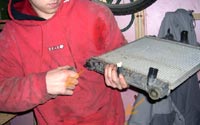
Make sure engine temperature is low enough for you
to touch the radiator's core. Remove the radiator cap.
If the engine is still warm, this can be dangerous. |
| Disconnect the radiator fan harness. |
|

|
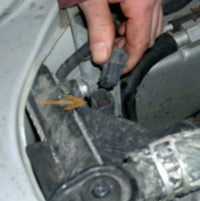
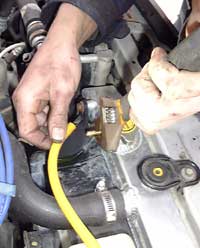
Using the wide pliers, disconnect the lower radiator
pipe. Place a container underneath the area you're
disconnecting the hose. The rubber pipes collapse
under the strength of the clamp, so this isn't as
easy as it may seem.
Note: Picture angle is taken from underneath the
car. |
| Once most of the fluid has drained
into a container, disconnect the upper radiator pipe
using the wide pliers. There should still be a little
fluid inside this pipe. |
|

|
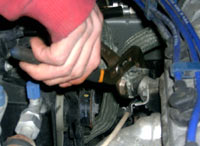
Using the 10mm ratchet (or other), remove the bolt
holding down the radiator bracket. |
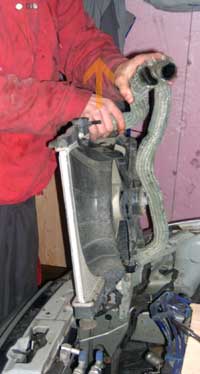
| Pull upwards, making sure you hold
the pipes upwards to avoid spilling fluid everywhere.
Empty the remaining fluid from the radiator and disconnect
the hoses. |
|
|
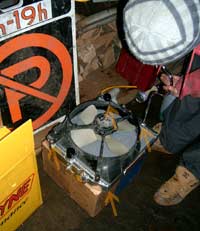
Remove the two lower rubber supports from the radiator. |
| Using a 10mm ratchet (or other), remove
the fan from the original radiator and install it to
the aftermarket performance radiator. The bolts align
only in one direction, so don't worry about putting
it upside-down. |
|
|
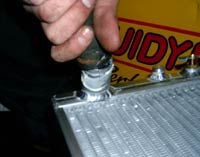
Use silicone lube on the outer part of the new radiator
where the hoses connect. The hoses contracted with
time, so be patient. This will prove difficult and frustrating.
You can stretch the hose a little with a pair of pliers. |
This is where we were greatly disappointed
in Fluidyne. They have a reputation for good radiators,
but in order to clear the radiator support, you have
to carefully bend the upper part of the frame. This
might only be the case on Canadian models of the 1999-2000
Civic. It's important that the radiator never come in
contact with other metal. Aluminum is a very soft metal!
Also, note that the hose connectors are 1.25" on the Fluidyne
while 1" on stock. Stock hoses fit with lubricant and brute
force, but reinforced aftermarket hoses (like Samco) don't
fit AT ALL. The oversizing is to accomodate swaps. |
|
|
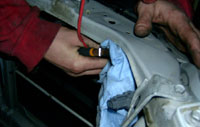
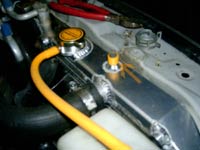
Funny enough, Fluidyne's quality control didn't pick
up on this. The overflow brass nipple wasn't sufficiently
tightened. We learnt this the hard way... |
| Once again, fitment with the Fluidyne
radiator was a problem. The upper radiator support bracket's
rubber hole was WAY too big for the Fluidyne. We opted
for a piece of silicone hose as it wouldn't be affected
by the vibrations nor the heat. |
|

|
Fill your new raidator with new radiator fluid.
Don't forget to dilute it with water (see instructions
on the fluid container).
Your stock temperature gauge won't read lower at
operating temperature, since the engine's thermostat
is set at a certain temperature. This mod has the
advantage of lowering the temperature much quicker
than stock, therefore reducing the amount of times
the fan goes off. Your water pump won't have to pump
as often thru the radiator. |
|