Rear Speaker Installation:
Tools Used:
- Medium size long neck Philips (+) screw driver
- Medium size short neck Philips (+) screw driver
- 12mm ratchet
- Short nose pliers
Products Used:
|
|
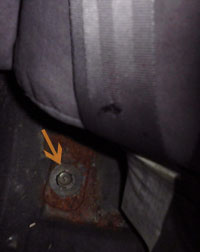
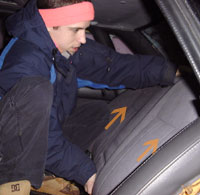
Using the 12mm ratchet, remove the bolt holding down the front of the seat. Below is a pricture of the bracket holding the seat down. Remove the bottom half of the seat.
|
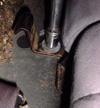
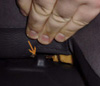
Using the 12mm ratchet, remove the bolts holding down the back of the seat. Below is a pricture of another one of the brackets holding the seat down.
|
|
|
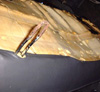
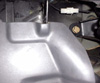
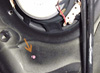
Remove the back of the seat by lifting upwards. Below are pictures of the upper hinge holding the top of the seat in place on each side.
|
|
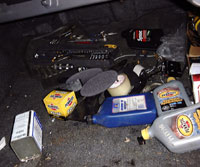
You can now see the mess in the trunk!
|
|
|
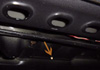
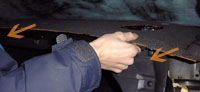
Next you must remove all the clips holding down the rear deck using the short nose pliers.
|
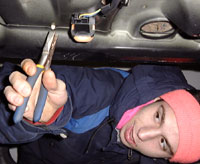
The joys of working in winter!
|
|
|
Pull outwards the rear deck.
|
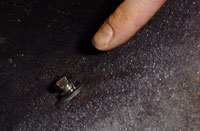
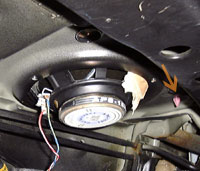
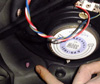
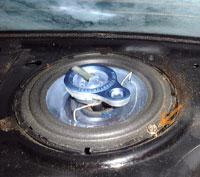
The stock speaker once again is secured using three equidistant screws. Use the short neck Philips screw driver to remove them. If you're not willing to screw into the frame, a bracket is required.
Reverse all the above steps and you're done. For your safety, make sure the seat is properly bolted down.
|
|
|