Front Speaker Installation:
Tools Used:
- Medium size long neck Philips (+) screw driver
- Medium size flat head (-) screw driver
Products Used:
|
|
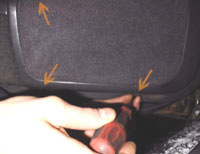
Using the Philips screw driver, remove the three screws.

|
|
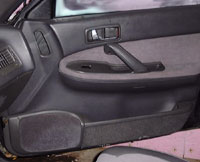
In order to remove the speaker without cracking any trims, you must remove the door panel. Start by removing these three screws.
|
|
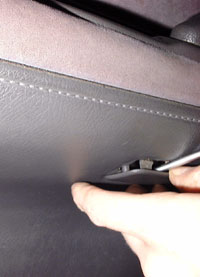
Pry this cap (located below door handle) using a flat head screw driver.
|
|
|
Use a Philips screw driver to remove the hidden screw.
|
|
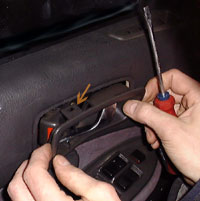
Use a Philips screw driver to remove the screw located behind the door handle. Using a flat head screw driver, pry out the door handle, watching for this clip.
|
|
|
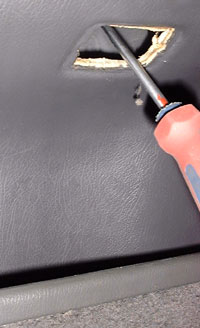
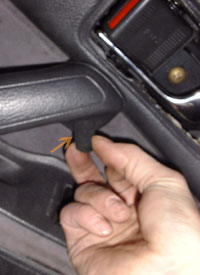
Remove this foam "ear plug" to reveal yet another screw! Use a Philips screw driver to remove the hidden screw.
|
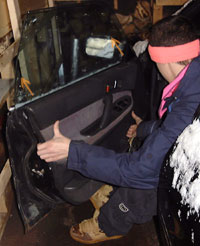
Lift the door panel, pulling slightly towards the edge of the door (to clear the mirror bezel).
(Notice the cute pink bandana... It's a little cold...)
|
|
|
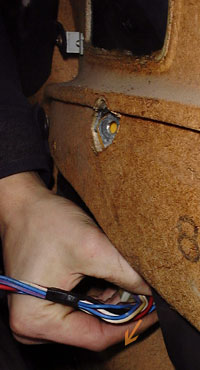
Disconnect the wire harness from the door panel.
|
|
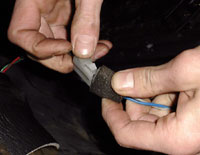
Disconnect the speaker connector.
|
|
|
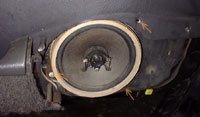
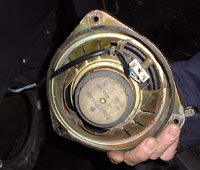
The stock Subaru speakers only have three equidistant screws. A bracket adapter plate is required if you're not willing to screw directly into the door frame.
|
|
Do all the above steps in reverse order and everything should look stock. Always test your power window and power door buttons before securing the door back into place. You don't want to have to undo everything for a simple wire harness.
|
|
|